The Hammer
If there is one part in a Colt that could be considered the “heart” of your pistols action it is the hammer. Not only do we have to manipulate it every time we shoot, load, or unload our piece, it along with the trigger controls the timing and function more than any other part. That is why so much attention is paid to the exact size and location of all 3 notches as well as the hammer cam. If any of the notches are worn, broken, or modified your Colt may be out of time as well as unsafe to shoot. This condition can render your pistol useless as well as dangerous. Shooting is not advised without first undergoing repairs by a qualified gunsmith.
The hammer and trigger on your Colt not only determine the trigger pull weight and creep, it controls the cylinder timing, bolt timing, the hand timing, as well as the ease of loading and unloading.
Fixing or replacing broken hammers
Replacing a broken hammer is not an overly difficult job if one is available. But here in lies the catch. Colt does not see the need to manufacture hammers for any 1st or 2nd generation pistols and only offers replacement hammers for current 3rd generation Peacemakers. This situation leaves thousands of single action army owners up the paverbal creek without a paddle.
What are your options you ask?
1) While it may be possible to use a current production hammer in a late 2nd generation pistol, the early 2nd generation Colts and all 1st generation Colts will not function properly with a modern hammer, due to the fact that the notches are in a different location. Besides it is never advisable to try to cross-generation critical parts like the hammer.
2) That leaves trying to find a proper vintage replacement. From my more than 25 years of experience, it’s like finding hens teeth. Yes, you see hammers for 1st and 2nd gen Colts for sale quite often, but Beware 95% are not usable without a complete rebuilt. Most of the hammers I see for sale are poorly described or are passed off by sellers who say they “seem” like they are useable. But upon close examination they more likely than not have broken notches (that is why they are not in a gun) or have been modified by trying to file in a new notch where one was broken. Remember these are guns we are talking about. Your life or the lives of others may depend on what someone says “looks” ok!
3) That leaves the last and most difficult option, hammer rebuilding. This process is an age old option and is not without its drawbacks. The most common ailment we find on vintage Colts is a broken half-cock notch. Second is the full cock notch that either has been filed on or stoned by a well-meaning gunsmith or owner to try to lighten the trigger pull, and is now too short or won’t hold the trigger. The 3rd most common ailment is a worn or deformed hammer cam. This will cause the bolt timing to go south and scratch a deep gouge line on the cylinder.
4) Repairing a hammer properly addresses all the above problems while restoring proper timing also. But “Beware” a “quick fix” of welding a small dab of weld on a hammer to restore a broken notch can lead to a “quick failure” too. When a “small” weld is accomplished on a vintage part the weakest point of the weld is at the junction between the parent material and the new material, or the joint between the two. This joint will be too close to the stressed area and will likely fail at that spot again. The only way to completely avoid this situation is to grind out all the area around the notches and place that joint far away from the stressed area. Remember when you have a broken half cock notch on your Colt it may seem to work ok. The timing will be ok and it will seem to work fine, right up to the point where one time when you are loading your pistol and you accidentally touch the trigger. At which time the hammer will fall from the half cock position and probably land on a live round. The gun will go off and at best will shoot something you didn’t want to shoot. And at worst will kill or injure you or someone close by. It’s just not worth it!
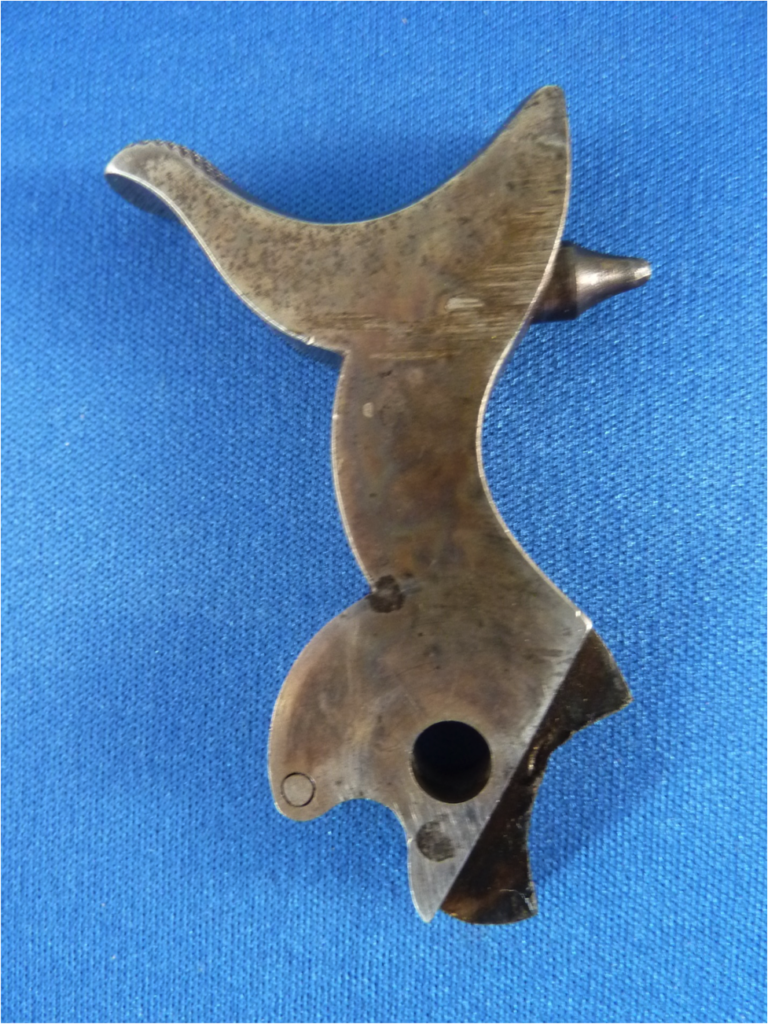
5) In the following photo you can see a typical broken hammer. (see photo A)
(photo A)

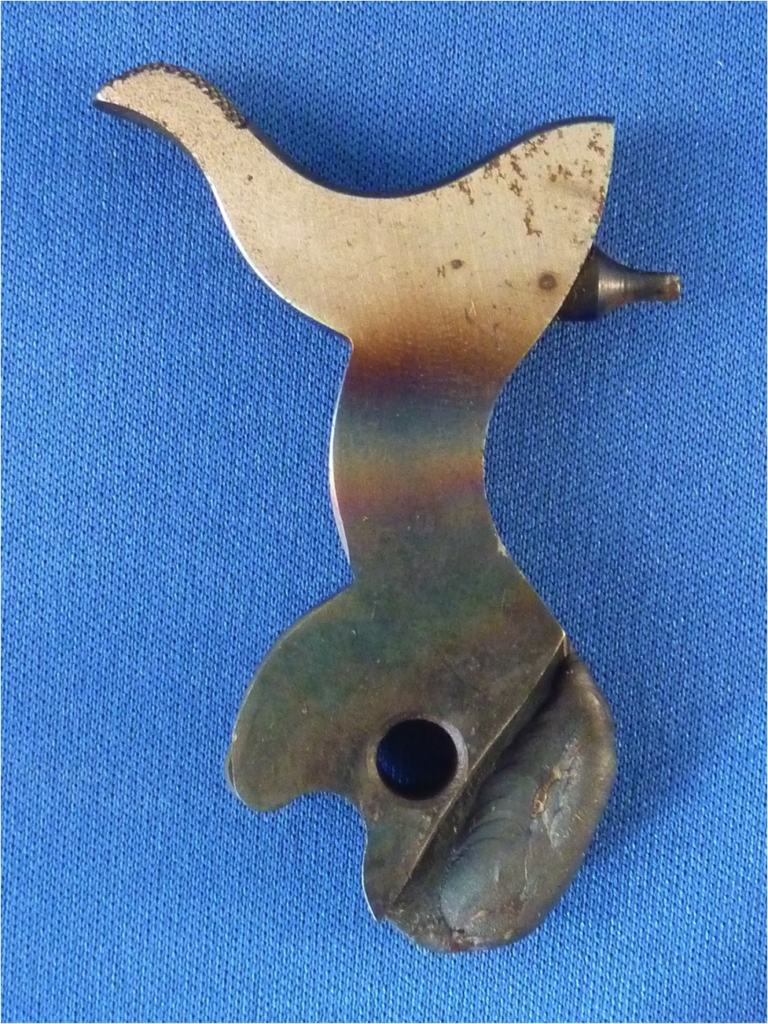
Then we grind out all of the notch area. (see photo B)
(photo B)
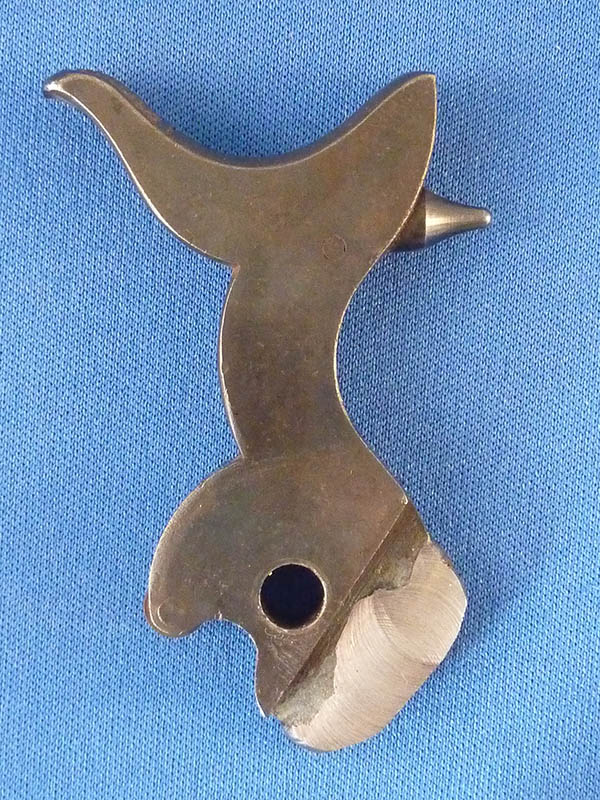
Then with special welding rods that are made to use on 100 year old steel we completely weld up the notch area. (see photo C)
(photo C)
The next step is to mill both sides of the weld area parallel. (see photo D)
(photo D)
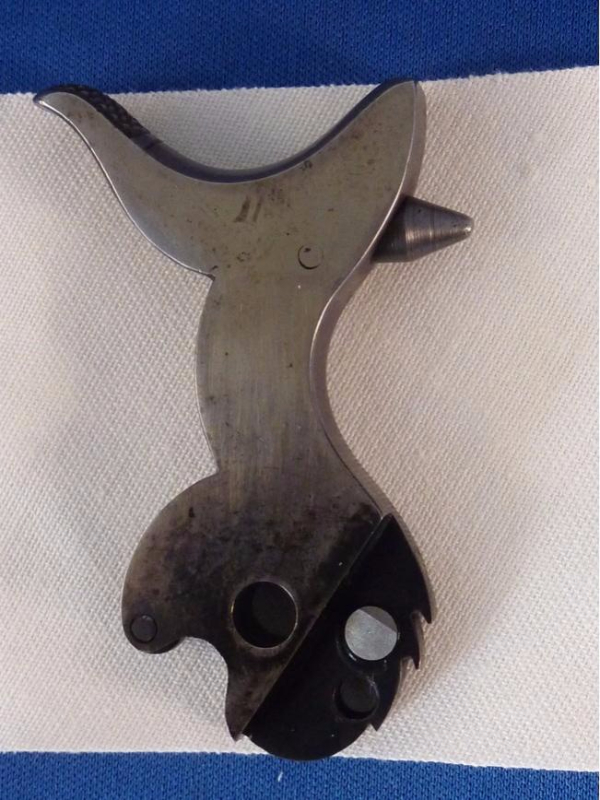
Next comes the difficult job of cutting out all 3 notches and drilling the hole for the hammer cam and the hole for the hand stud to operate out of. This step is done using small Swiss hand files and a “pattern Hammer” from the correct and same vintage as the one we are rebuilding. It’s very important during the notch cutting to periodically check the location and depth of the notches with a proper length trigger and a frame jig. This ensures total compatibility between the hammer and the trigger when they are complete. The notch cutting is done completely by hand with hand file only. No milling or dremel tools are used during this process. Then each notch is hand stoned to remove all file marks and surface hardened to promote longevity. (see photo E and F)
(photo E)
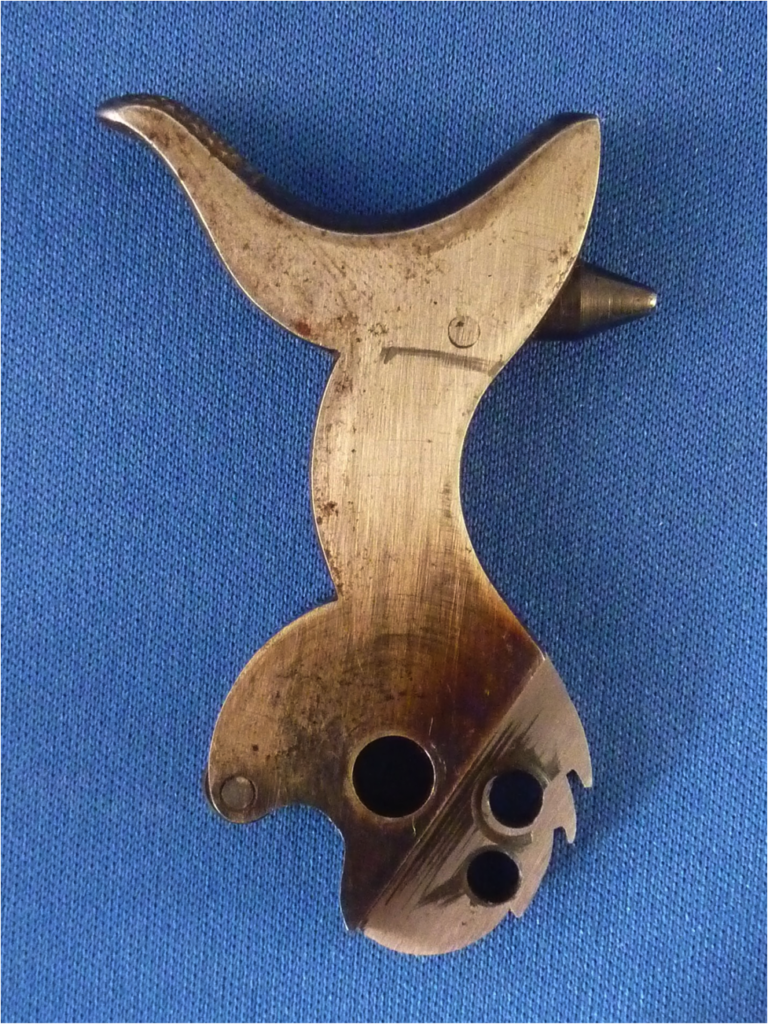
(photo F)
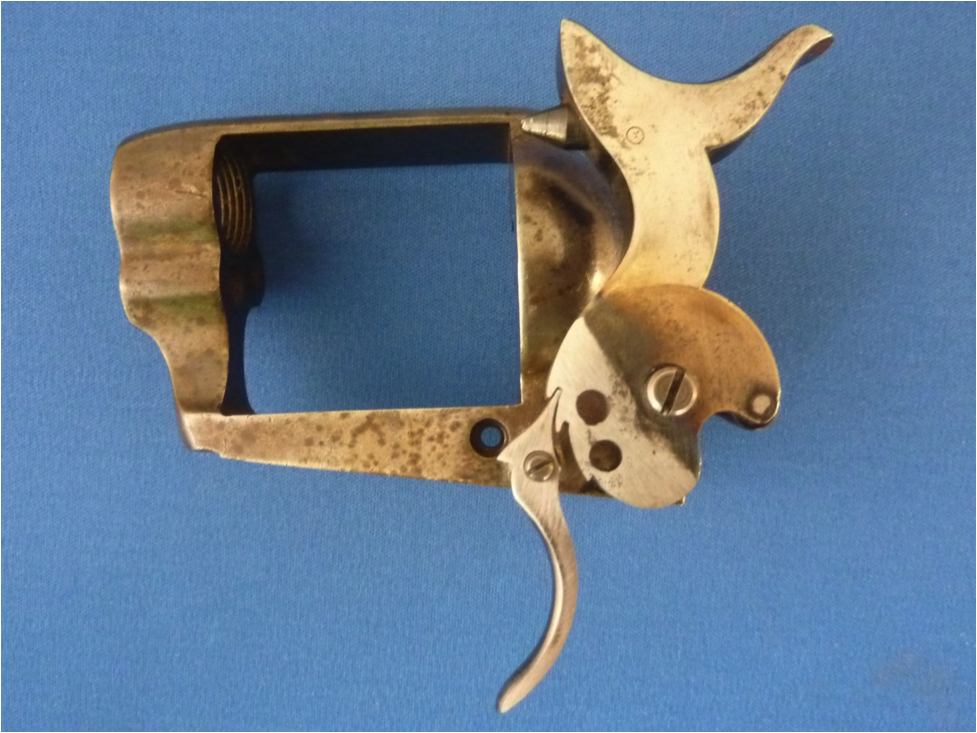
The next step is shaping and installing the hammer cam with a special aero-space adhesive. Finally we carefully remove all the heat and burn marks that were made when it was welded. We do this carefully to preserve the natural patina and color on the part so it will not look like it was repaired or altered on the usable upper part when reinstalled in a vintage Colt. (see photo G)
(photo G)
Now your repaired peacemaker looks correct and works like a factory new action. Do it right the first time and your prized Colt will work correctly for years to come